Hello and welcome! I’m excited to finally be writing on this blog. Life has a way of keeping us busy, but I’ve decided it’s time to share more of the things I love—and the first thing I want to dive into is something I’ve been passionate about for a while: sourdough bread.
I’ve been making 1–2 loaves a week for the past two years, and almost everyone I know keeps asking me the same question: How do you make sourdough at home? Well, today I’m finally answering that.
Making your own sourdough bread is simple, satisfying, and so much better than anything you can buy at the store. It’s nourishing, rewarding, and—most importantly—it’s made with care and love for yourself and those you share it with.
Why Sourdough?
Bread is one of humanity’s oldest foods, dating back tens of thousands of years. Sourdough, in particular, has a fascinating history—it’s been around for at least 7,000 years, likely starting when people used beer foam to make lighter, fluffier breads than the hard flatbreads they were used to.
Sourdough uses a natural fermentation process called a starter, which makes bread richer in nutrients, easier to digest, lower in gluten, and less likely to spike your blood sugar than bread made with commercial yeast.
⚠️ Pro tip: Many store-bought breads labeled “sourdough” aren’t true sourdough. They often miss out on the nutritional and digestive benefits of a real starter.
Let’s Get Started: Making Your Sourdough Starter
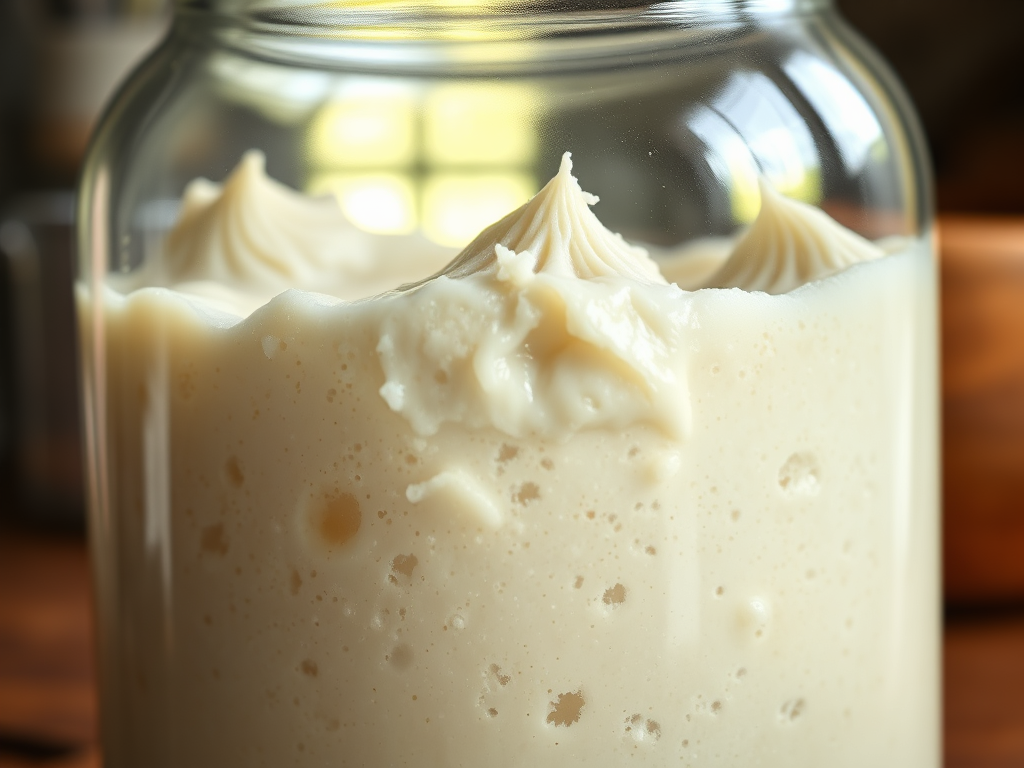
A sourdough starter is a living culture of wild yeast and lactic acid bacteria. It’s created by mixing flour and water and letting it ferment—producing the tangy flavor we all love in sourdough.
You’ll Need:
- A wide-mouth jar (I love Weck Jars)
- Kitchen scale (weighing ingredients in grams is more accurate than cups—I use Etekcity)
- Whole wheat flour (for the first step)
- Water
Step 1: Mix
Combine 50g whole wheat flour and 50g lukewarm water in your jar. Cover with a cloth (an old t-shirt works great!) secured with a rubber band. Place in a warm-ish spot for 24 hours.
Step 2: Observe
After 24 hours, check for small bubbles. Don’t see any? No worries—it may just be slow to start.
If you see a dark liquid on top, don’t panic. This is called hooch, a natural byproduct of fermentation. Smell or look bad? Ignore it for now—you’ll remove it during feedings.
Let it sit for another 24 hours.
Step 3: Start Feeding
On day 3, discard about half of your starter (don’t worry—you can use discard in recipes or share it with friends).
Add 50g all-purpose flour and 50g lukewarm water, stirring until it’s the consistency of cake batter or plain yogurt. Adjust with a touch more water if needed.
Cover and set in a warm spot for 24 hours. Repeat daily for 3–4 more days.
As your starter develops, it will rise and form bubbles. When it falls, it’s time to feed again.
💡 Tip: Use a rubber band around the jar to track growth.
Step 4: Active Starter
After 7–10 days, your starter should:
- Have plenty of bubbles (big and small)
- Be spongy and fluffy
- Smell pleasant, not like stinky gym socks
If it meets these conditions, congratulations—a starter is born! 🎉
Step 5: Store and Name Your Starter
Transfer your starter to a clean jar, cover with a lid, and refrigerate until ready to use.
And don’t forget tradition—name it! My starter is called Matilda, simply because it felt right.
You’re now ready to make sourdough bread, pizza crust, cinnamon rolls, and more. Wahoo!
Next blog post: How to Love and Care for Your Newborn Starter

Leave a comment